How to Take Real Estate Photography: Tips and Tricks for Stunning Listings
Are you looking to take high-quality real estate photos that will make your property listings stand out from the rest? Look no further! In this guide, we'll cover the basics of real estate photography, including what settings to use, how to get sharp photos, and what equipment you need. We'll also answer some common questions and provide tips and tricks to help you take stunning photos every time.
Overview
I. Basic Photography Tips
II. Real Estate Photography Techniques
III Bracketing for Real Estate Photography
IV. Best Camera Settings for Real Estate Photography
V. Should real estate photos be portrait or landscape?
VI. Get the Right White Balance
VII. Post-Processing Your Photos
VIII. Use Professional Photography Services
IX. What focus mode for real estate photography?
X. How do I take real estate photos with my phone?
XI. How do you take real estate pictures with a DSLR?
XII. How many megapixels do I need for real estate photography?
XIII. What is the best ISO for home photography?
XIV. Which aperture should I use?
XV. Should I use a flash for real estate photography?
XVI. Lights on or lights off?
XVII. Can I use a 35mm or 50mm for real estate photography?
Conclusion
In summary, by following the tips and techniques outlined in the article below, you can take stunning real estate photos that will help you stand out in a crowded market. With the right equipment, settings, and techniques, you can create images that are both beautiful and effective at selling properties. Good luck with your real estate photography endeavors! So let’s begin.
How to Take Real Estate Photography: Tips and Tricks for Stunning Listings
Real estate photography is an essential part of selling a property. As a real estate agent or a photographer specializing in real estate, you need to know how to take good real estate photos. In this article, we will discuss the techniques and tips for taking professional real estate photos.
I. Basic Photography Tips
Before we dive into the specifics of real estate photography, let's cover some basic photography tips that will apply to any type of photography.
Use a tripod: Using a tripod will help you stabilize your camera and avoid blurry photos. It is especially important when taking interior shots with a low light environment.
Shoot in RAW format: Shooting in RAW format gives you more control over the editing process and ensures that you capture more details in the shadows and highlights.
Get the right exposure: When photographing a property, it's important to get the exposure right. This can be achieved through bracketing, which we will cover later in this article.
II. Real Estate Photography Techniques
Choosing the right angle: The angle you choose can make a significant difference in the final result of your real estate photo. In general, it's best to photograph from the corners of the room to give a more immersive feel. You should also avoid extreme angles and keep vertical lines straight.
Lighting: Lighting is crucial in real estate photography. You want to make sure that the room is well-lit, and there are no harsh shadows or blown-out highlights. Use natural light whenever possible, and consider using additional lighting equipment if necessary.
Composition: Proper composition can help showcase the best features of a property. Consider the placement of furniture, artwork, and decor to create a more aesthetically pleasing shot. Remember to keep the focus on the property and avoid unnecessary clutter.
Twilight photography: Twilight shots can be a great addition to your real estate portfolio. To achieve this effect, you need to take photos just before sunrise or after sunset, also known as the "golden hour."
III. Bracketing for Real Estate Photography
Bracketing is a technique used to capture different exposures of the same shot, which can be blended in post-processing to create a final image with a wider range of tones. This is especially useful when you have a scene with a high contrast ratio, such as a room with bright windows and dark shadows.
Most modern cameras have a bracketing function built-in, but the exact steps will vary depending on your camera. For Canon cameras, you can press the "Q" button, select "Bracketing," and adjust the settings. For Nikon cameras, you can press the "BKT" button and adjust the settings.
The Sony A7III is a popular camera for real estate photography and has a built-in bracketing feature. To access it, go to "Drive Mode," select "Bracket Settings," and choose the number of shots and the exposure range.
IV. Best Camera Settings for Real Estate Photography
Now that we've covered some of the basics of real estate photography, let's talk about the best camera settings.
Aperture: A smaller aperture, such as f/8 or f/11, is ideal for real estate photography as it allows for a deeper depth of field and ensures that more of the room is in focus.
Shutter speed: The shutter speed you choose will depend on the lighting conditions. As a general rule, you want to keep the shutter speed high enough to avoid motion blur but not too high that the photo appears dark.
ISO: For real estate photography, it's best to keep the ISO low to avoid noise in the final image. A range of 100-400 should suffice in most cases.
White balance: Ensure that the white balance is set correctly to avoid any color casts in the
V. Should real estate photos be portrait or landscape?
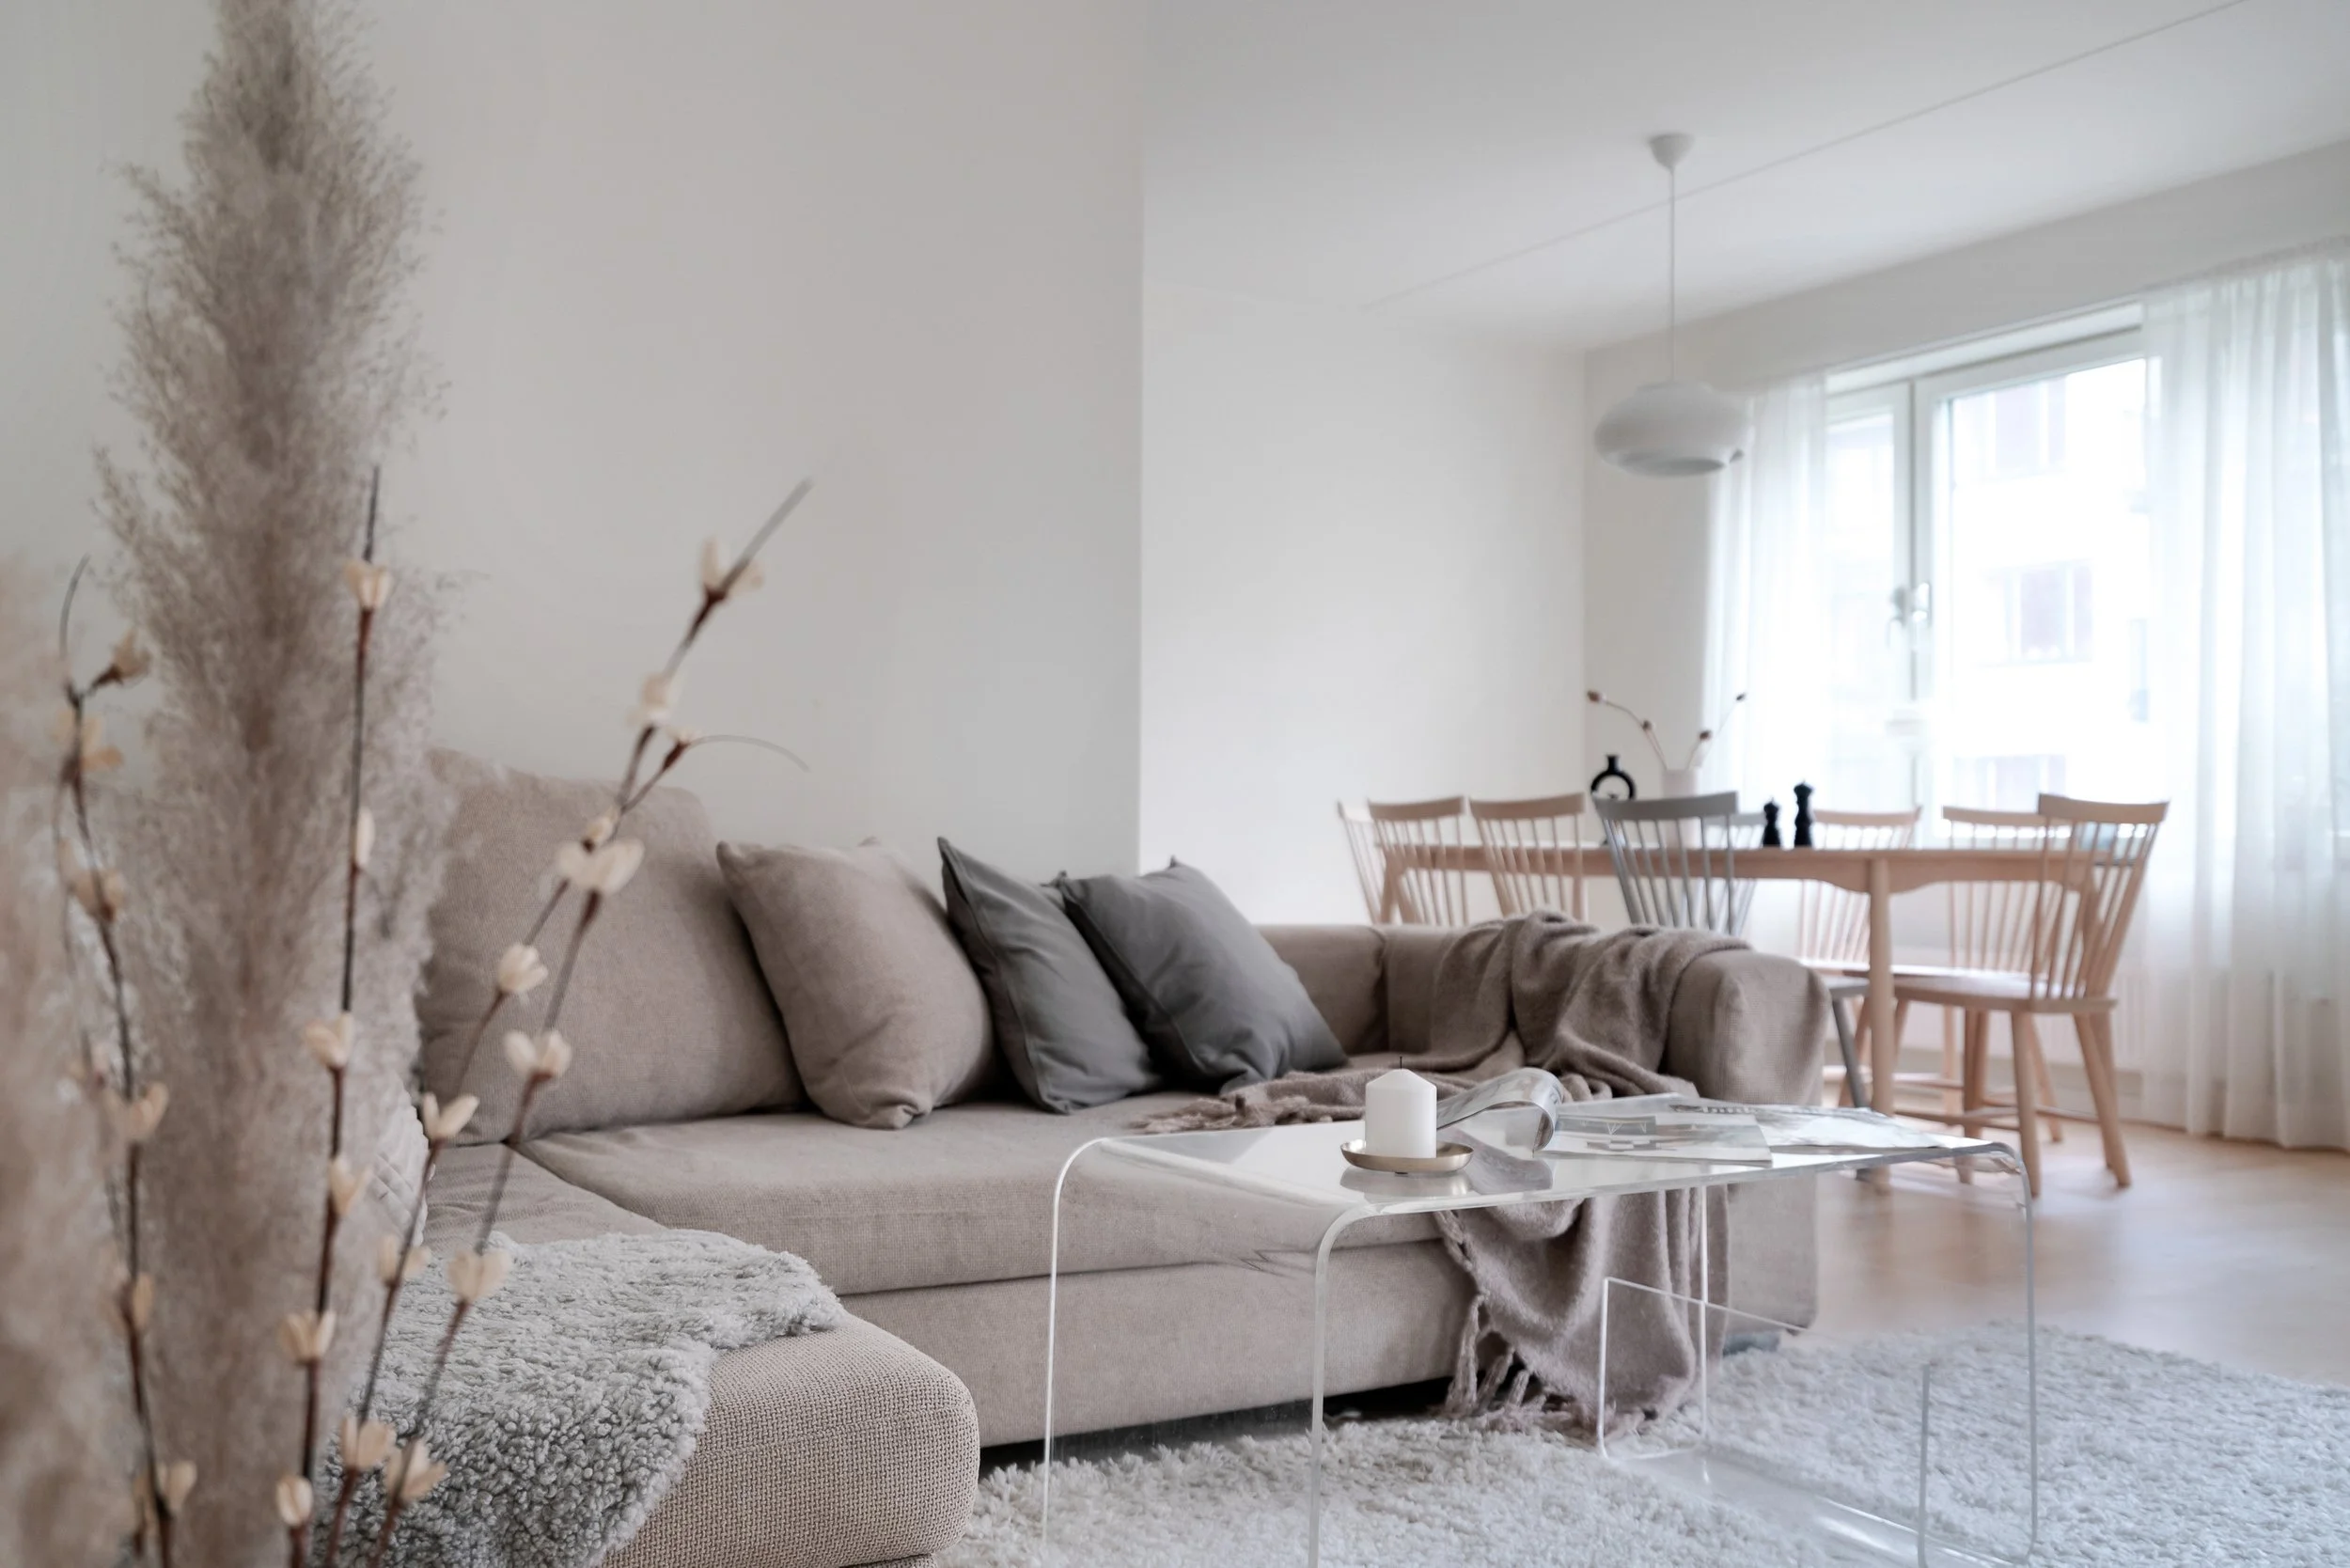
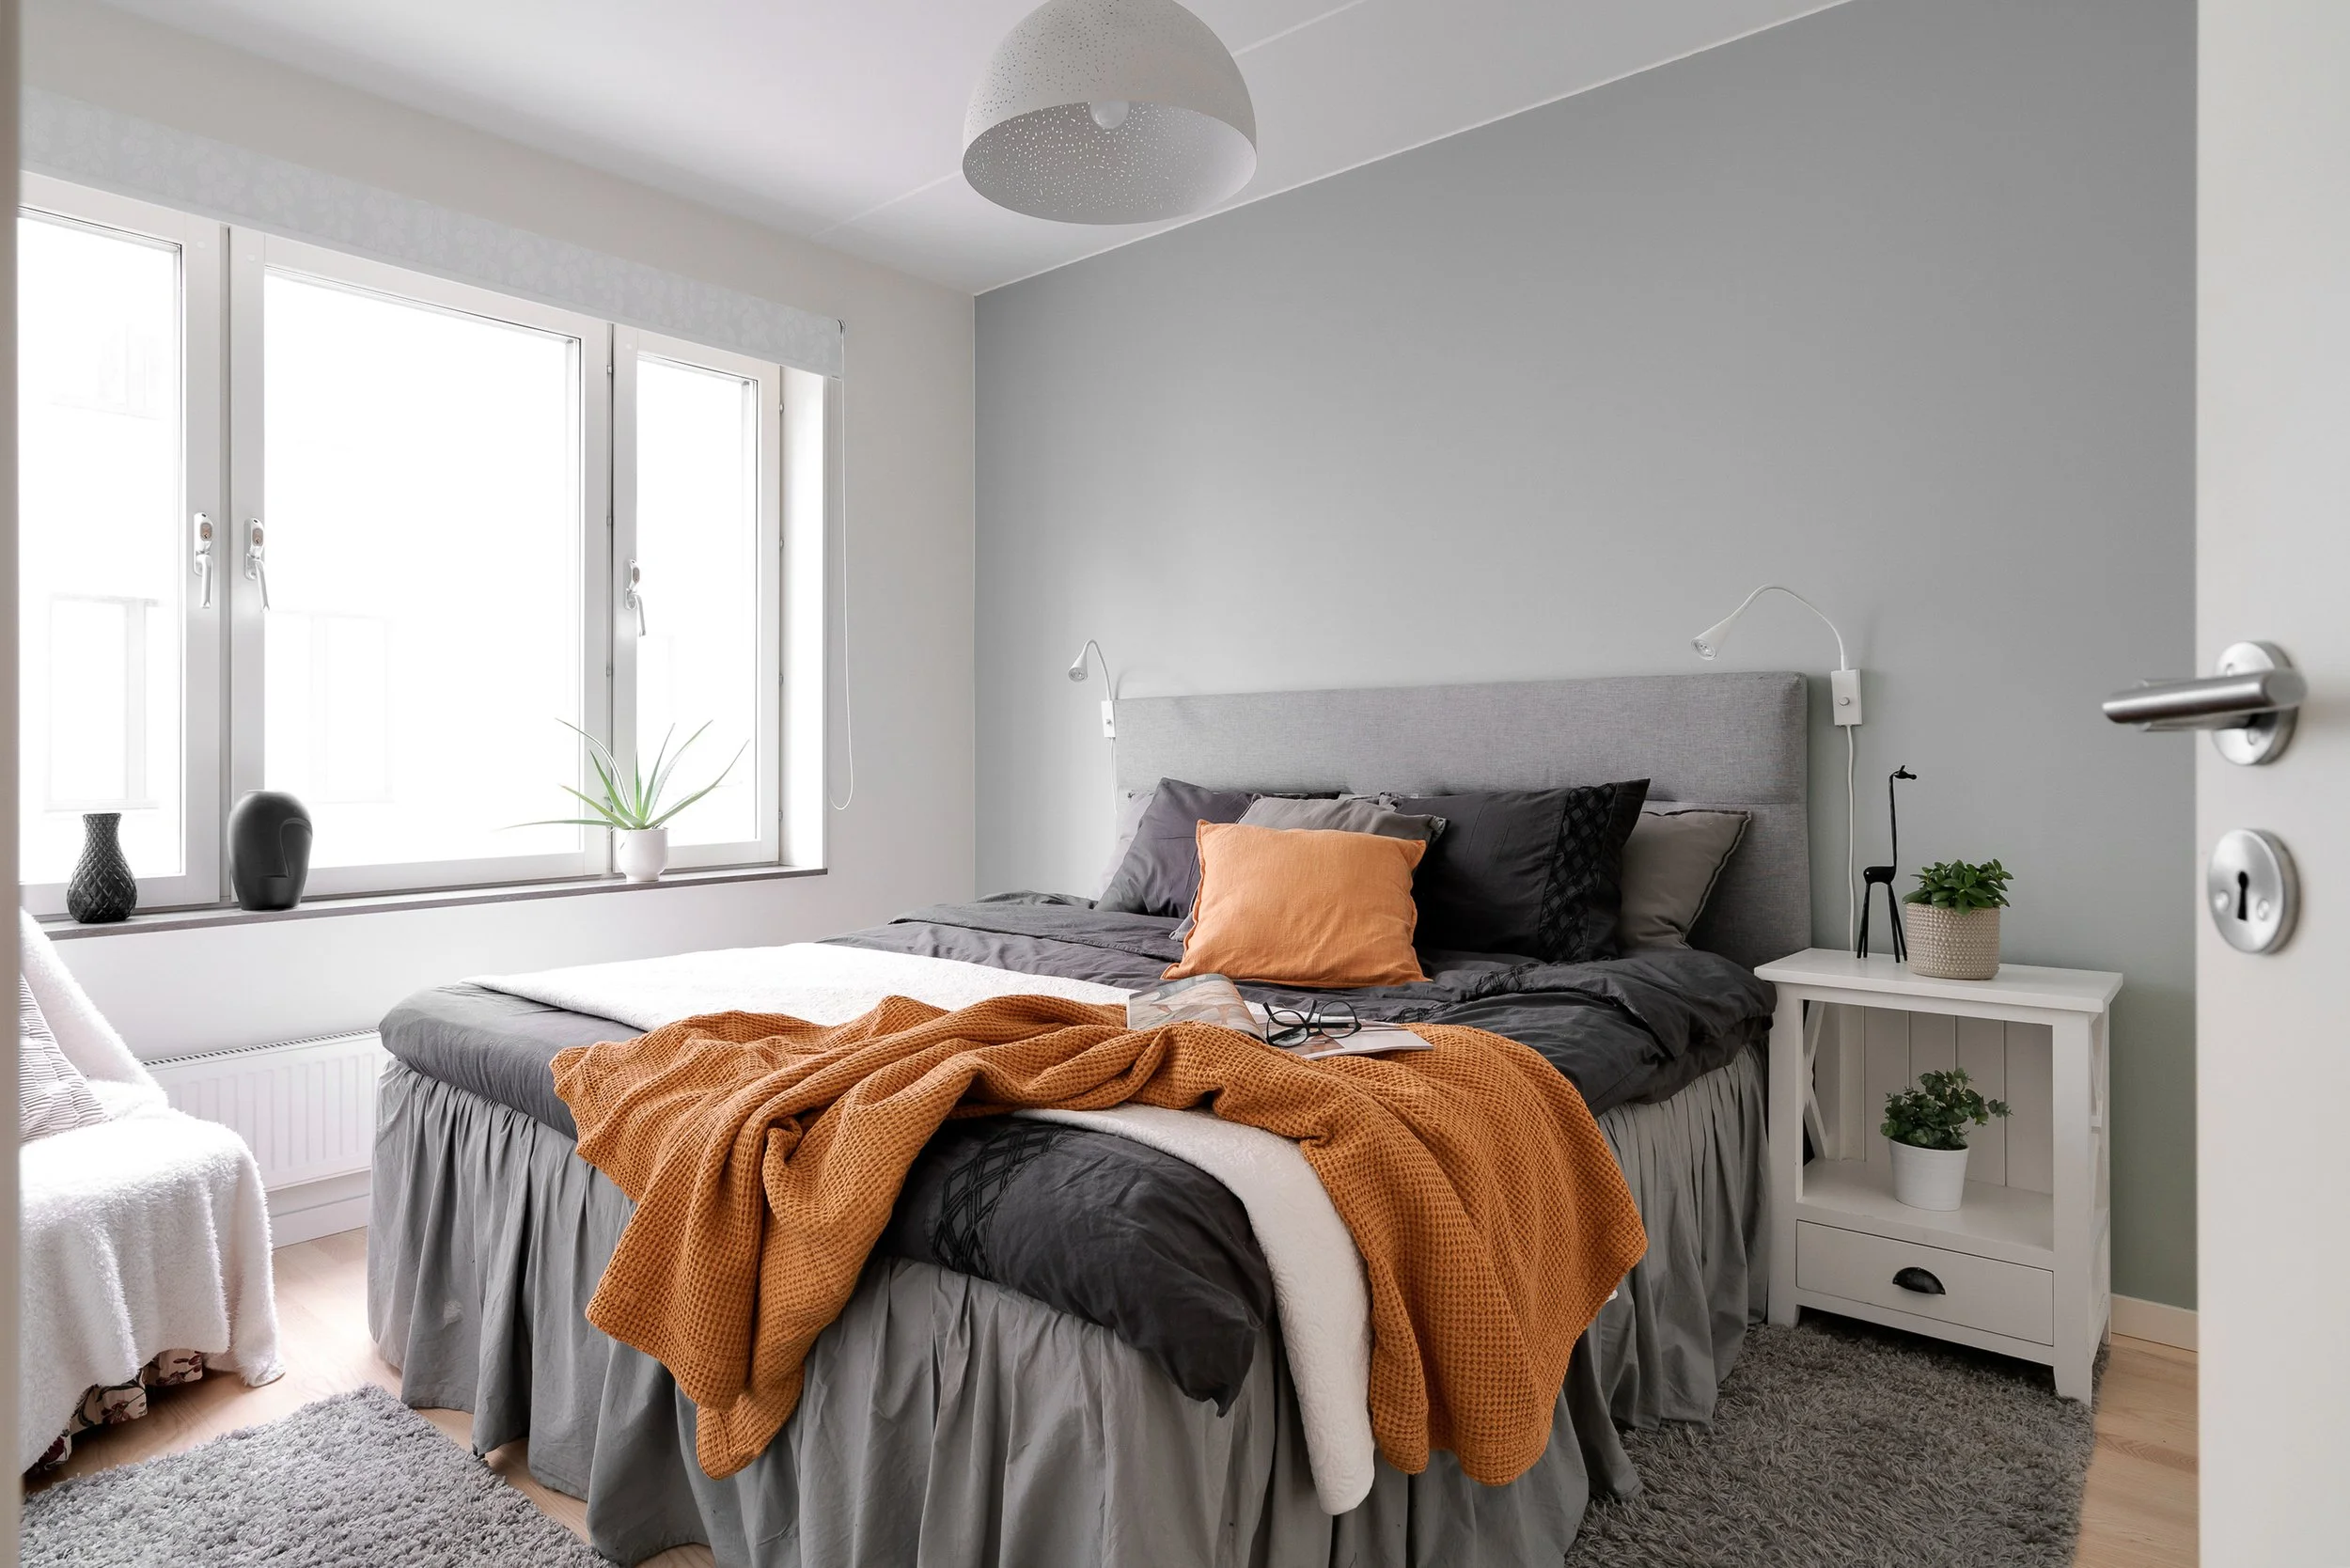
The orientation of the photo depends on the room or area you are photographing. For example, if you want to showcase the height of a room or capture the ceiling, portrait orientation may be suitable. However, for wider areas such as living rooms or exterior shots, landscape orientation may be more appropriate. I always suggest using a healthy mix of portrait and landscape orientation. Often times portrait orientation can and will be used for Instagram posts. (Click on the photos below to enlarge and compare them.)
VI. Get the Right White Balance
Another important aspect to consider when taking real estate photos is getting the right white balance. This is particularly important if you are shooting in different lighting conditions. The wrong white balance can make your photos appear too yellow or too blue. To ensure that you get the right white balance, you can use the auto white balance setting on your camera or manually adjust the white balance using a gray card.
VII. Post-Processing Your Photos
After you have taken your real estate photos, the next step is to post-process them to make them look even better. The post-processing stage is where you can enhance the colors, adjust the exposure, and fix any imperfections. Some of the popular software for post-processing real estate photos include Adobe Photoshop, Adobe Lightroom, and Capture One.
VIII. Use Professional Photography Services
While taking real estate photos on your own can be an option, hiring a professional real estate photographer can help you get the best results. Professional photographers are skilled in taking high-quality photos that will help you sell your property faster. They have the right equipment, experience, and knowledge to capture the best features of your property and make it look more attractive to potential buyers.
IX. What focus mode for real estate photography?
In most cases, it is best to use manual focus mode to ensure that the important areas of the shot are in focus. With manual focus, you can choose which parts of the image you want to emphasize and adjust the focus accordingly. If you have trouble focusing on specific areas, try using the focus peaking feature available on some cameras to help you achieve sharp images.
X. How do I take real estate photos with my phone?
When taking real estate photos with your phone, ensure that you have a stable grip on the device to minimize camera shake. Use the gridlines on your phone's camera app to keep the shot level and experiment with different angles and lighting to capture the best shot.
XI. How do you take real estate pictures with a DSLR?
To take real estate pictures with a DSLR camera, use a wide-angle lens to capture more of the space in each shot. Adjust your aperture settings to achieve a deep depth of field, allowing more of the image to be in focus. Use a tripod or other stabilizing device to minimize camera shake and capture sharp images.
XII. How many megapixels do I need for real estate photography?
The number of megapixels you need for real estate photography depends on the size of the images you plan to produce. A camera with at least 10 megapixels should be sufficient for most real estate photography needs.
XIII. What is the best ISO for home photography?
When shooting real estate photos indoors, it is best to use a low ISO to minimize image noise. ISO 100 or 200 is a good starting point, but you may need to increase the ISO in low light situations.
XIV. Which aperture should I use?
I suggest setting your aperture to f9 (up to f11) to achieve a deep depth of field. This technique allows more of the image to be in focus, making it ideal for real estate photography where you want to showcase as much of the space as possible. For detail shots I lower the aperture to around f4 for a shallower depth of field.
XV. Should I use a flash for real estate photography?
Using a flash can be useful in low light situations or to fill in shadows. However, it can also create harsh and unnatural lighting. I suggest you don’t use a flash. Use a good and sturdy tripod instead and longer exposures.
XVII. Lights on or lights off?
Having different light sources can cause uneven results or colour casts that are impossible to control later on. I suggest turning all lights off and adjusting your exposure time accordingly.
XVIII. Can I use a 35mm or 50mm for real estate photography?
A 35mm or 50mm lens can be used for real estate photography, but it may not be wide enough to capture the full space in smaller rooms. A wider-angle lens such as a 24mm or 16mm may be more appropriate for these situations. However, I am often using a focal length between 50 mm and 70 mm to shoot details. These focal lengths - especially when sued with a shallow depth of field - will provide you (and your client) with a detailed, yet atmospheric look.
Conclusion
In conclusion, taking real estate photos is not just about pressing the shutter button. There are important steps that you need to take to ensure that you capture the best features of your property. Whether you are using a smartphone or a professional camera, understanding the basics of photography, getting the right gear, using the right settings, and post-processing your photos can help you take great real estate photos that will help you sell your property faster.
If you don't have the time or the expertise to take real estate photos on your own, consider hiring a professional real estate photographer. They can help you take high-quality photos that will make your property stand out from the competition. With the right photos, you can attract more potential buyers, sell your property faster, and get the best price for your investment.


